Once you have run a project and the images have been saved to you device you can open the encoder tab to create a video.
- Delete Icon – Delete the session from your phone.
- Session Button – Touch the session thumbnail to open encoding options.
- Up Folder Icon – Upload the session to your FTP site.
Note: You will need to have a enough space on your phone left after capture to allow you to encode the entire session.
Note: For very long capture sessions you are better off transferring the session images to a PC or Mac to encode the session.
Blender is a good opensource choice for encoding and editing.
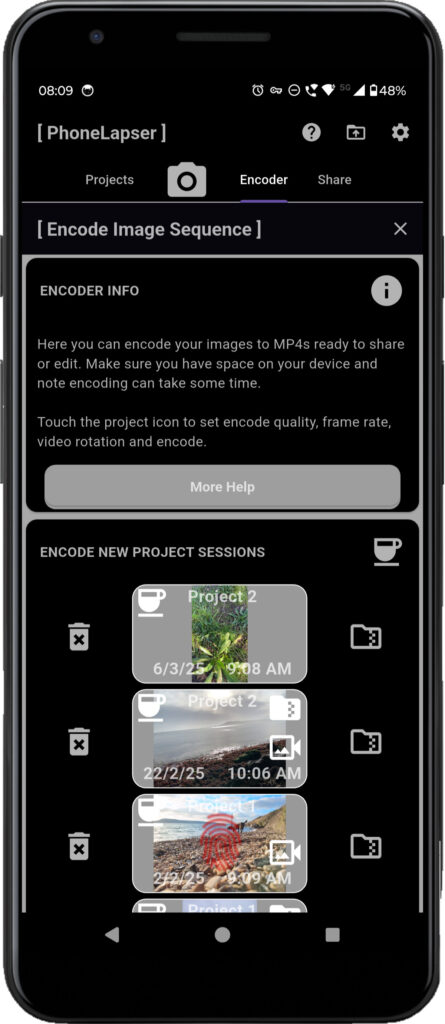
Section 1: VIDEO ENCODER SETTINGS – To set the video encoding options touch the video you would like to encode.
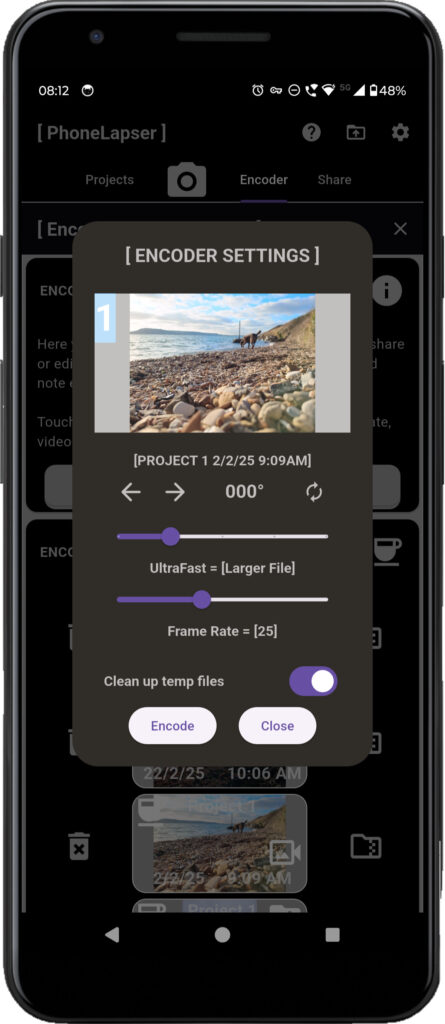
[ENCODER SETTINGS]
- The Left/Right arrows allow you to set the thumbnail of the encoded video.
- The Rotate Icon allows you to rotate the video by 90 degree increments.
- The Quality Slider – The further to the right this slider is the slower the encoding and the smaller the file will be.
- The Frame Rate Slider allows you to set the output framerate of the encoded video.
- Clean up temp files toggle – If this is set off video segments are not deleted after being merged into one file.
- Press Encode to start. Once complete open the Share Tab to send your video to another app.
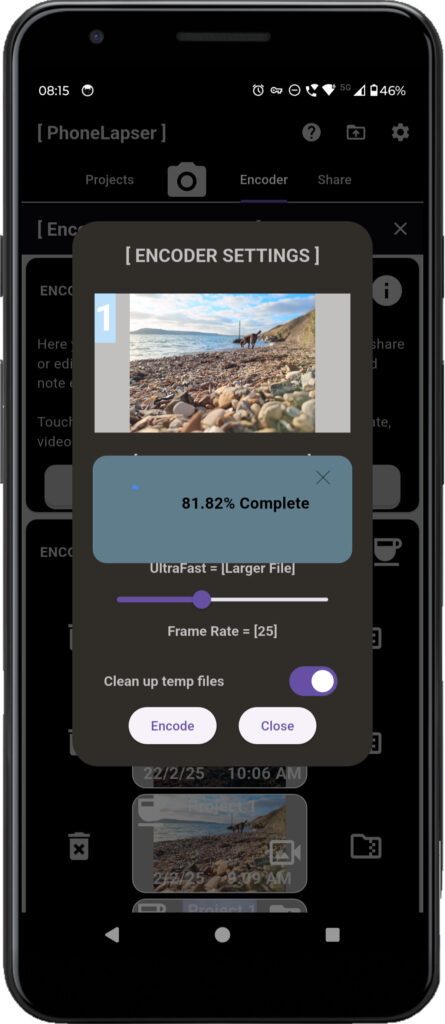
Note: Encoding can take along time especially on a older phone!
Exporting Zipped Images
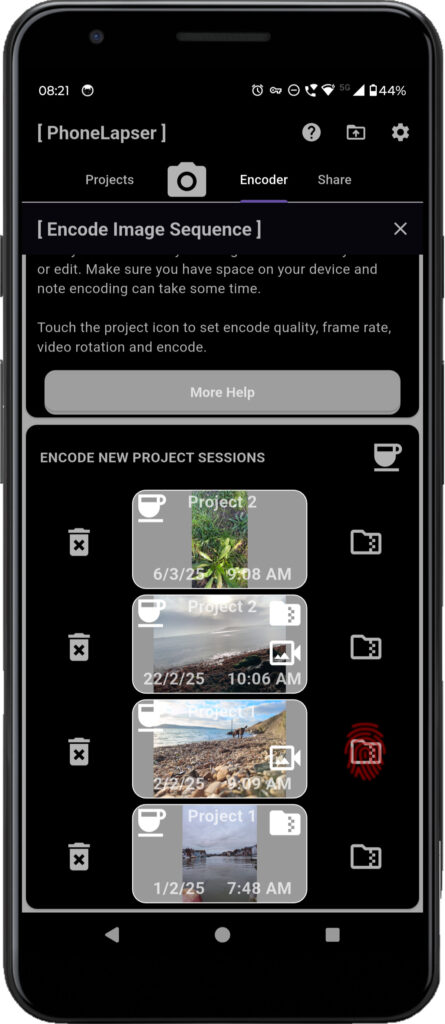
You may not want to encode your footage using your Mac or PC. In this scenario touch the Zipped Folder Icon next to the Session Thumbnail.
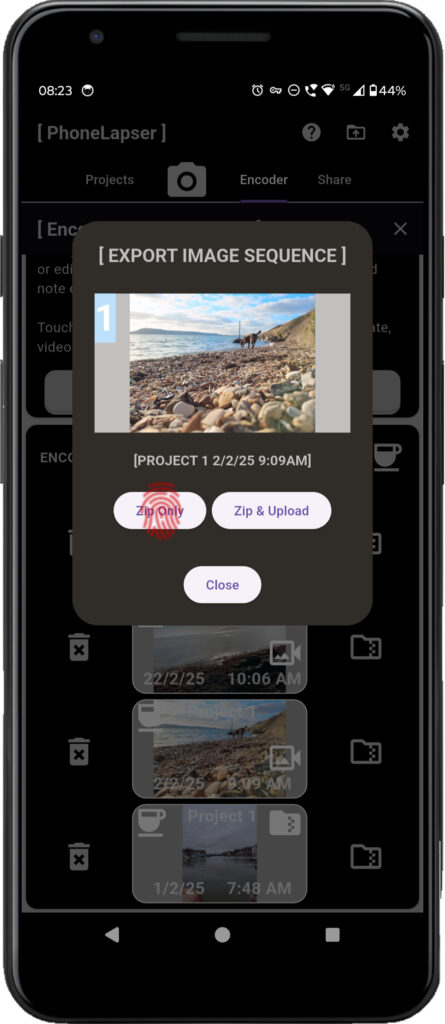
You have two options Zip Only & Zip & Upload. The first option creates a local zip file that can be shared via the Share Tab and shared using any file manager tools you have installed on your phone. You can also access these files by browsing your phone on a computer and finding the Zipped folder on your phone.
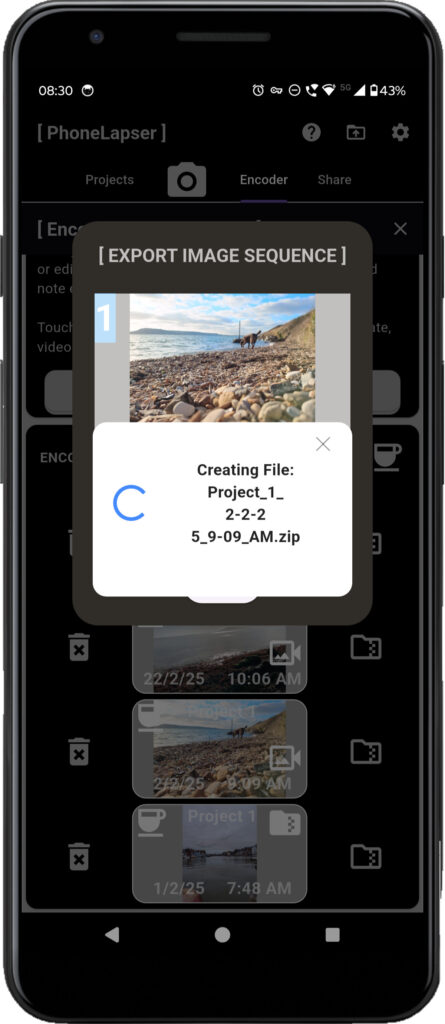
The zip file is created with the same name as the source project.
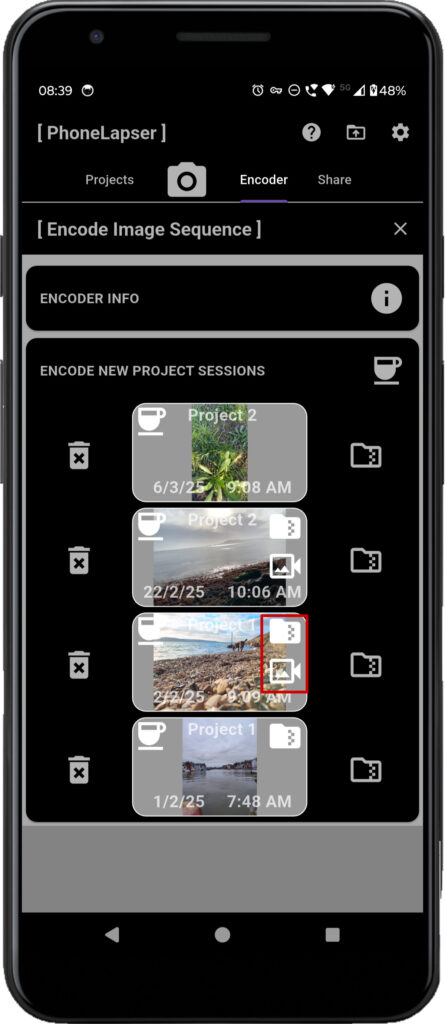
Once zipped or and encoded a Zipped Icon and or Video Icon will appear on the Video Thumbnail.
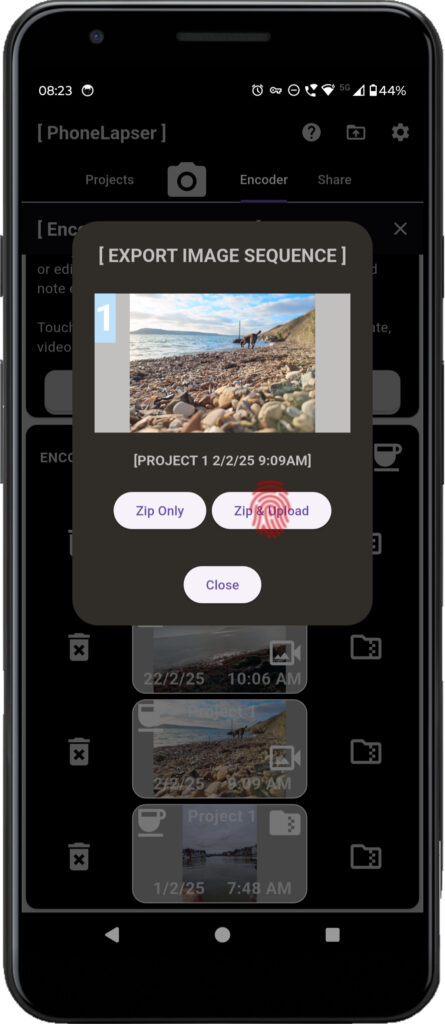
If you touch Zip & Upload you will need to choose the FTP server you want to upload your zipped images to.
Note. You will need to have entered you FTP settings on the FTP tab.
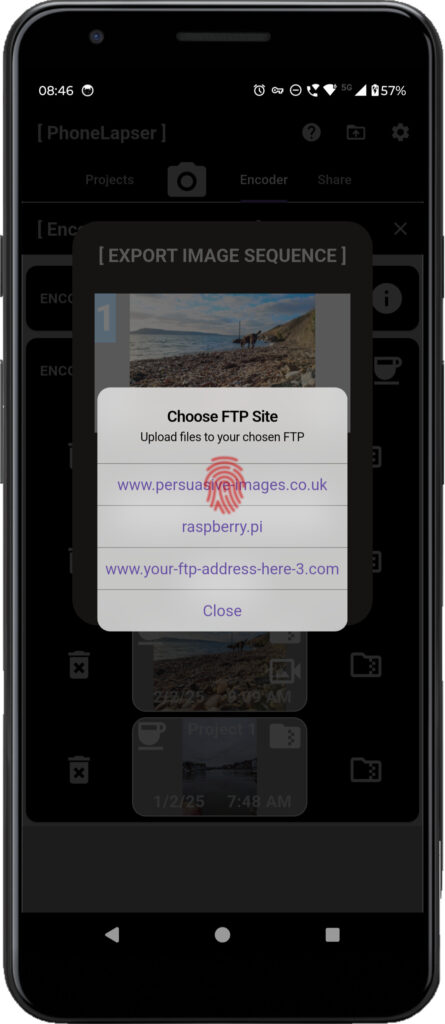
One you have selected you FTP server, the zip file will be created on the phone and then uploaded.
Note. These zip files can be very large, if you have taken footage at high resolution for hours they can be over 10GB+. This means you need sufficient space on your FTP server & uploading can take along time.