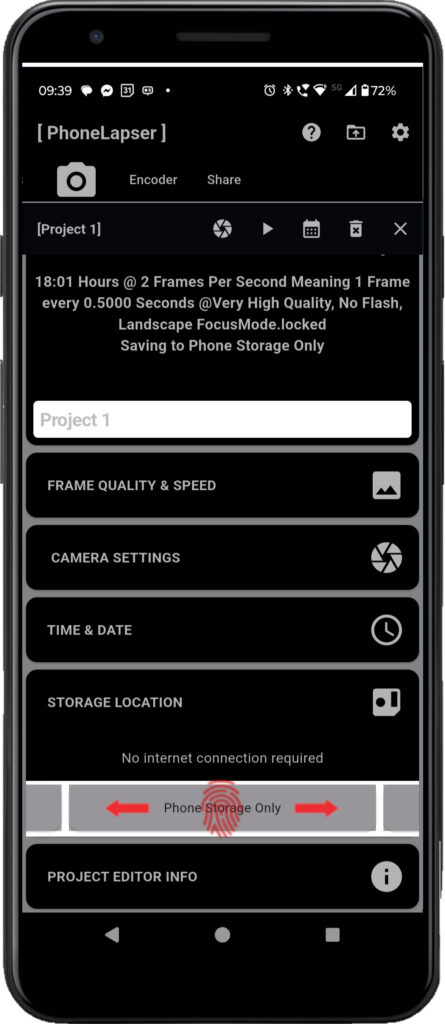
Edit Project Tab: From this tab you can edit all parts of a project.
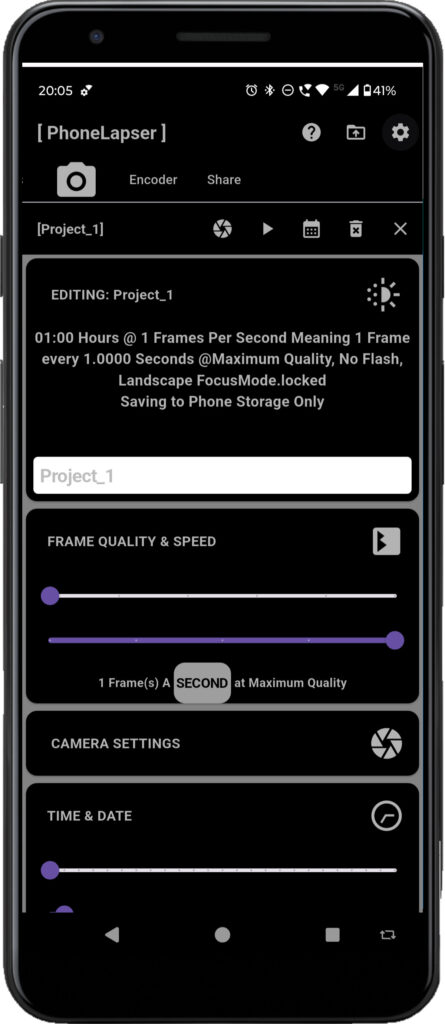
You can expand or collapse each section of the page by touching the icon in the top left of each section.
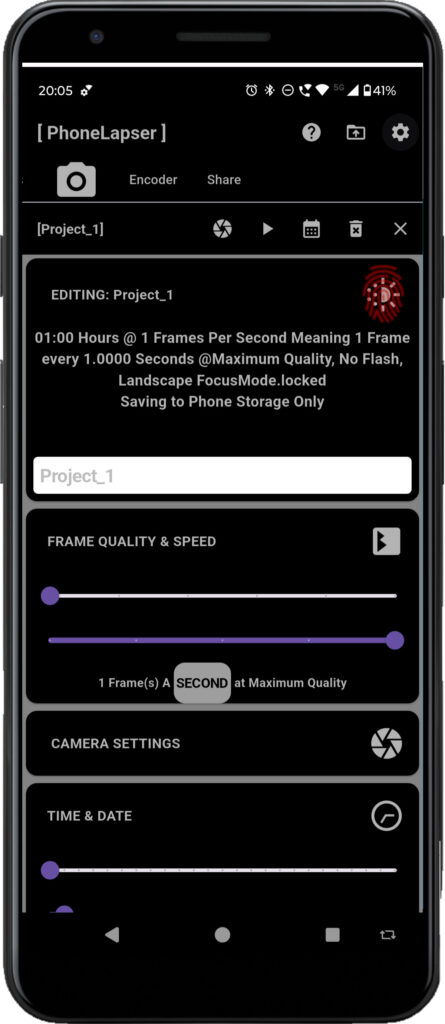
Section 1: Project Summary
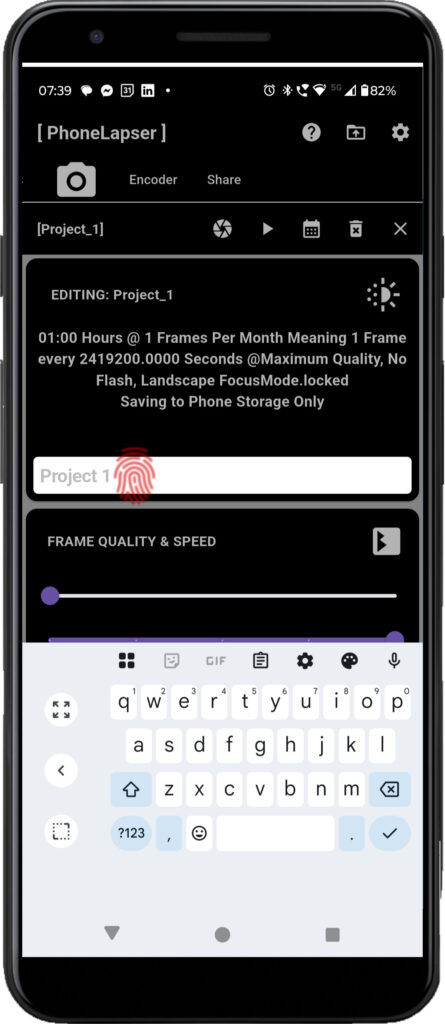
In this section you can see a project summary constructed from the current project settings. You can edit the project name in this section.
Section 2: Time & Date
Using the 2 sliders you can set the start and finish time of the project.
The sliders allow you to set a time a maximum of 24 hours in the future with a maximum project runtime of 24 hours.
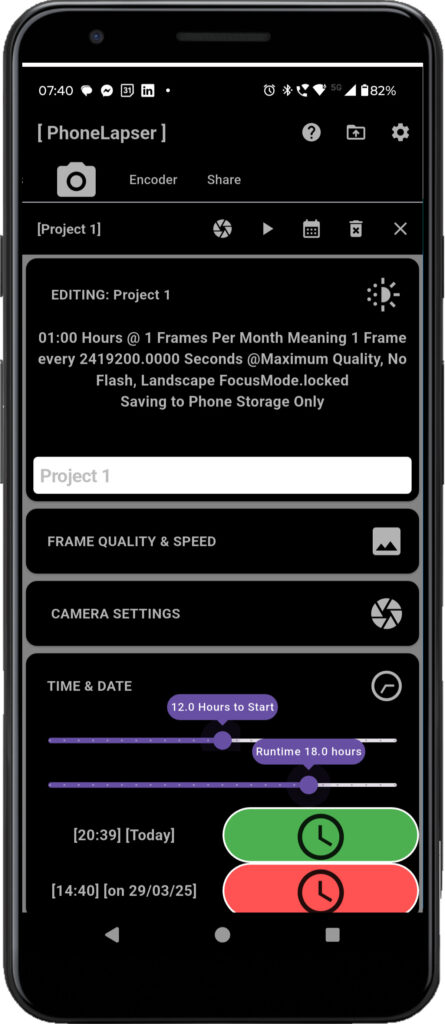
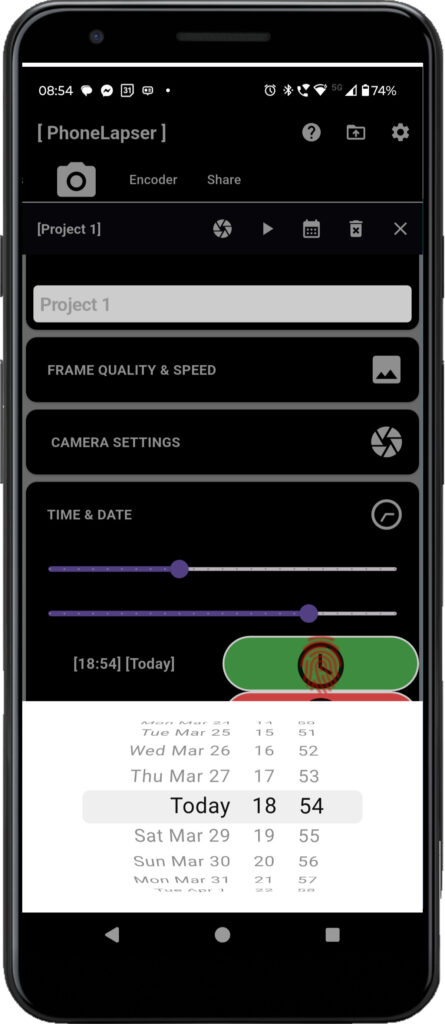
If you need the project with a longer runtime or a start time further in the future you can use the red and green clock buttons to open the date time picker.
Section 3: Frame Quality & Speed
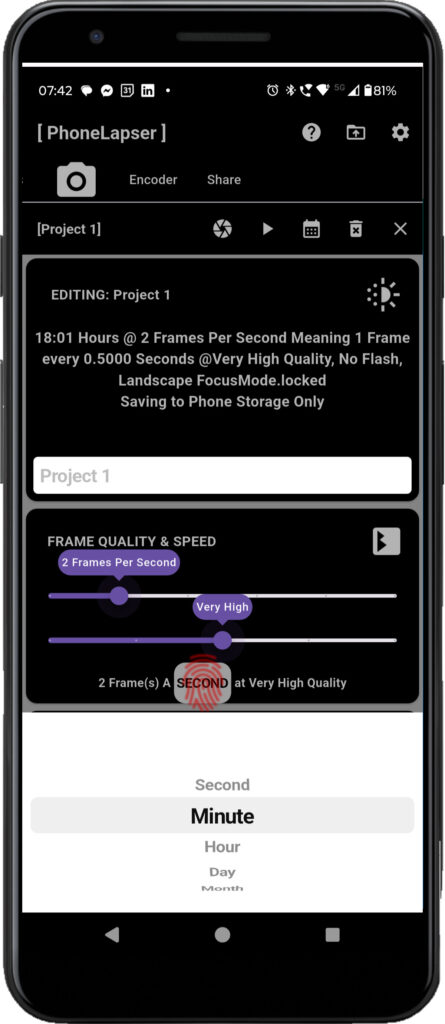
From here you can change the quality and capture frequency of a project. So if you want a slower or faster capture rate per unit of time you can increase or decrease that value with the the first slider (Capture Rate Slider).
With the second slider (Quality Slider) you can increase or decrease the photo size used during capture. The higher quality the capture, the more storage used per image.
The Unit Button allows you to change the time units. You can select Second, Minute, Hour, Day, Month.
Section 4: Camera Settings
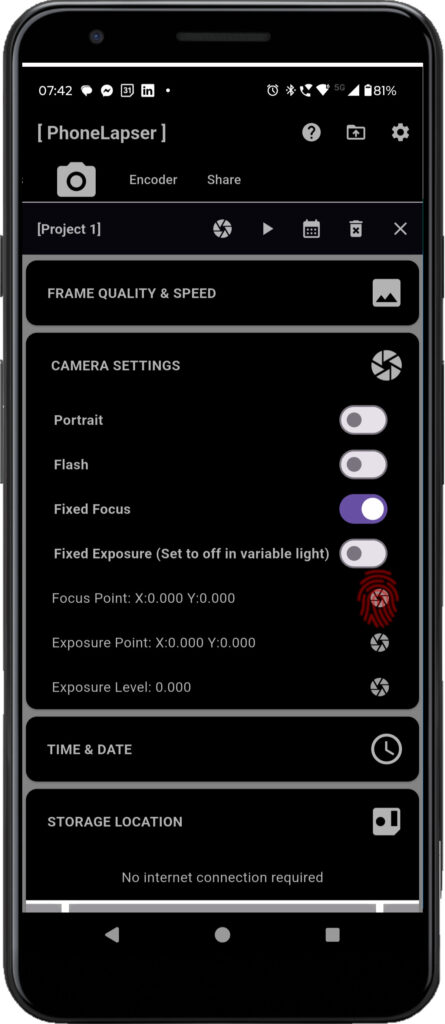
In this section you can control the camera settings used when a project is running.
Flash: Keeping the Flash disabled is generally the best policy in mixed light conditions, such as sunset/sunrise as it may become active and ruin your shot.
Fixed Focus: Also keeping the camera focus fixed is a good idea as the focus can wander if the focus point is calculated for every frame.
Fixed Exposure: Keeping auto exposure off is also a good idea as you may end up with under or over exposed frames when exposure values are calculated frame by frame.
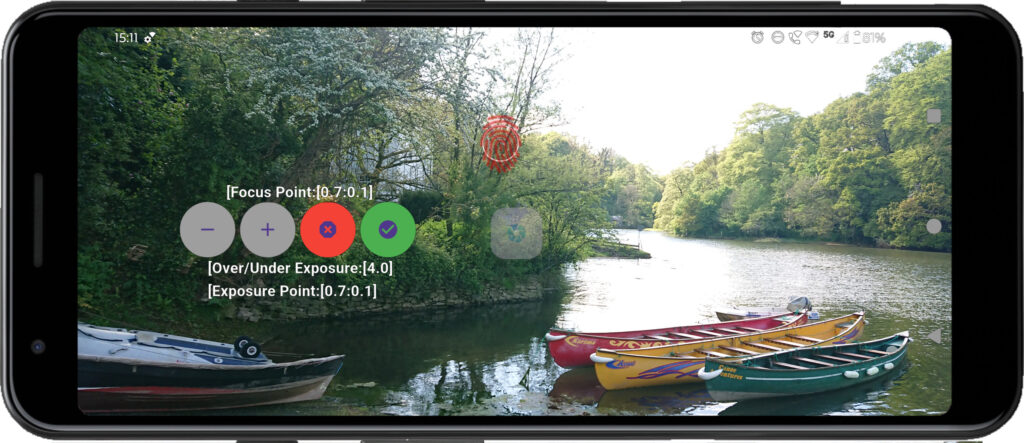
Focus Point, Exposure Point and Exposure Level Settings: Touch the Aperture Icon on the same line on any of these settings to open the camera.
View Finder Screen
From this page you can change the settings you have selected from the previous page.
Touch a point on the screen to set the Focus & Exposure Point. This is the point which will used to calculate the exposure and focus of the camera during a time-lapse session. A circle is displayed at that point on the view finder screen.
You can manually increase or decrease exposure.
If you touch and drag the Aperture icon The Floating Menu will move to where your finger stops dragging. This can be useful if you are trying to configure the view while the phone is attached to a mount.
Once happy with your settings touch the Green Tick Icon to exit the screen. If you touch the Red Cross Icon, your exposure settings will reset to the current project settings.
Section 5: Storage
Here you can set where you want the images created by the project to be uploaded to. Images will always save to the phone but if you want to them to be saved to an FTP Site too you can select that from the button carousel.
